Many organizations have lots of long paper forms. Some times they are well structured and templates that are easy to update and some are very convoluted that if you are not the originator you have no idea what is going on. But in any event there is a big push to modernize these processes and capture even more data. That brings in a web GIS collection platform, such as Survey123. In Survey123 users can create complex forms, capture imagery, and location data. But that data is not always in the format to make reports without a reporting software, or is it? GIS attribute tables are just a table, and as long as you embed the domains and aliases you can use a simple mail merge in Microsoft Word to populate a document. For my example, I am using the NYSDOT Outfall Inspection Form found at https://www.dot.ny.gov/divisions/engineering/environmental-analysis/water-ecology/stormwater-management .
Step 1- Create your Survey123 survey and collect data.
Going through the standard Survey123 template create your survey and questions. I try to match a question to a field in the table.


Once you have your survey all configured you can publish it and then go collect your data.
Step 2- Download your data from ArcGIS Online
Downloading your data can be easy, but there are some tricks to it. If you were to download only the CSV, Excel, or shapefile you will get some weird values. The issue is where you have drop downs, check boxes, or other “domained” values the download will give you Choice 0 through Choice N for the values and not your chosen values. So I would suggest downloading the File Geodatabase. It will add another step to convert it to an excel, but will give you a much better product to work from. 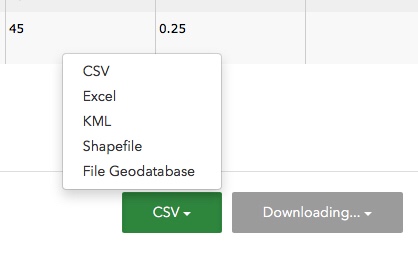

Once you download your data, open ArcMap, ArcCatalog or ArcGIS Pro. Then use the Table to Excel tool to convert the table. Make sure you use the field alias and domain options and that will give you the data in the format that you created your Survey123 project.

Step 3 – Create Your Report Template in word
If your form is in word, great, if not you will need to manually create it.
One thing that will make it easier is that you will most likely need to leave large blanks for the merge process. Check boxes will need to go and so you can change them to open and the field will fill it in.

Step 4 – Merge your table
Click on the Mailings Ribbon. Then Click On Select Recipients and Use and Existing List. This tool was set for letters but works well for any forms where you have limited pieces changing. Find your Excel workbook that has your data and load it. Also it will ask for what the sheet is that your data are located. Now you are ready to load your fields.

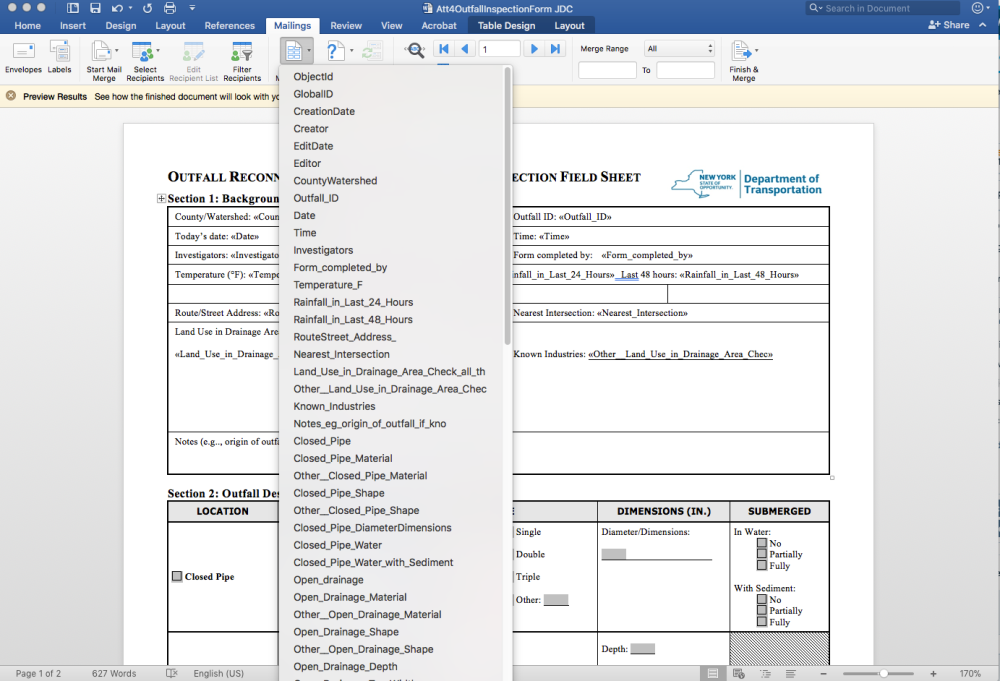
To load your data click on the Insert Merge Field . The work your way down the sheet and load all of the fields in their appropriate boxes.
Step 5 – Print the final report
Once you have all of the fields loaded into the form, you can then click the preview results button to see how the form looks with your data. If you need to fix anything you can make changes in the excel document and they will be reflected in the report.

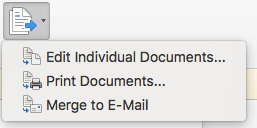
Then you click  . Here you have the ability to edit individual reports or print all of the reports.

Great Justin, thank you for sharing 🙂
LikeLike
So glad to have found this. I am in the process of attempting to merge Survey 123 into a Microsoft Document form. This is helpful! Thanks for sharing
LikeLike