In my class this week, my students asked me to show them how I created some of the flood inudation models. The lab is a bit tricky to customize with tools like Arc Hydro or Hazus, but I was thinking, when I had an emergency situation and needed a flood zone I turned to QGIS and GRASS to create a quick inudation model. It worked well enough for discussion during the drill and thought that it would be a good way for the students to work with it.
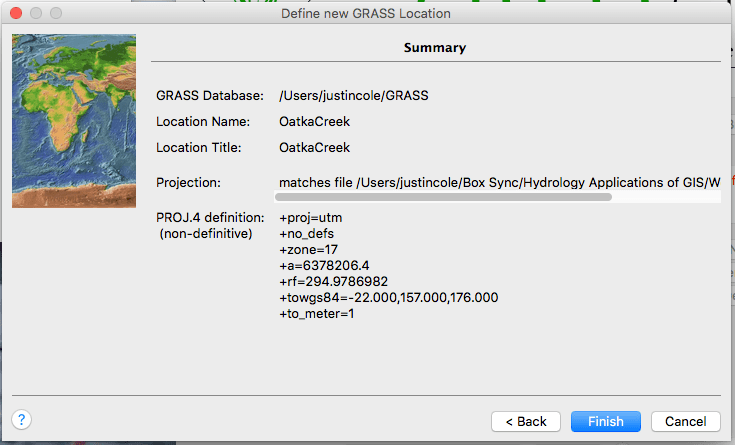
GRASS needs be setup in a location before working with it. In the past this was a barrier for some to use it, but in the new version, you can use an existing layer as a refrence point. For my example I was using an elevation model of Oatka Creek so I loaded that. 

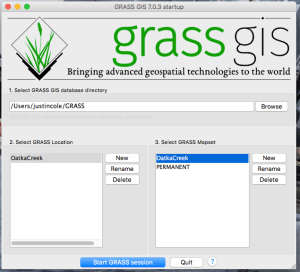
Then you can load the Mapset and Add your elevation data. I changed my symbology to the Elevation ramp. 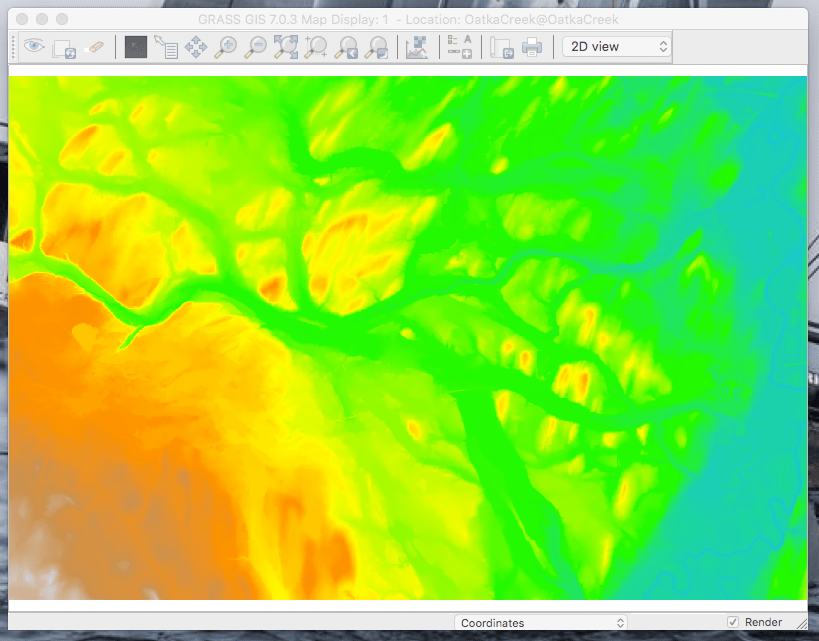
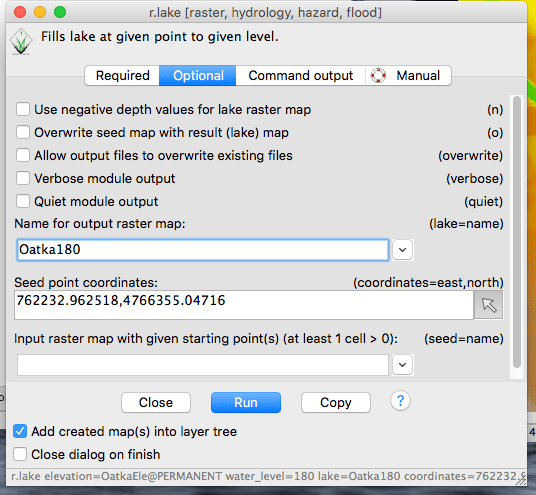
The tool for this example is the Fill lake (r.lake) and what that does is basically fills water at a known point (like a gage station) to a level that you specifiy. The tool is located in the Raster ser under Hydrologic Modeling.

The tool is pretty easy to run. You need your elevation and a water level. In the optional tab, I add the export raster and the seed point.

This only took a few seconds to run and created an inudation map for that location. It is not perfect, but depending on what you need it may be good enough.

