I have been getting started capturing UAV imagery with my Phantom 3 Pro and I wanted to get a processing software. Right now I do have the resources to get one of the commercial products such as Pix4D, Drone2Map, or Drone Deploy, so I went the opensource route. Web Open Drone Map (WebODM) is a great tool, and currently I am still learning its capabilities. I have not tried my own captured data, yet (the Rochester, NY weather has not been cooperating to get a good flight) so I looked online for some sample data. I found that ESRI had some data for Drone2Map lessons so I thought I would give it a try (https://doc.arcgis.com/en/drone2map/get-started/sample-data.htm). I am going to do the Rapid data sample for the demonstration. I will show the 3D example with some of the capabilities that WebODM has with that data.
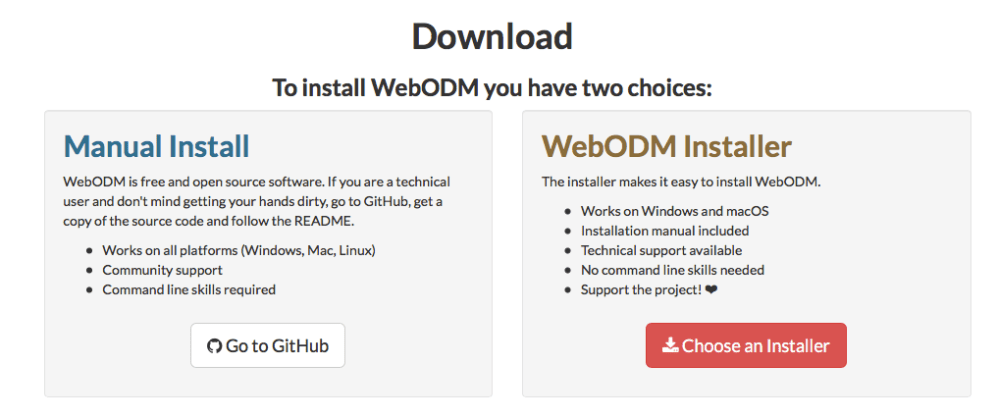
First install WebODM from the project site (https://www.webodm.org). I used their installer for Mac, but you do not have to go the installer method and can use docker on your own. I felt that the project was worth contributing to so I paid for the installer, which packages the system very well and is easy to start.
Once you have your software installed start the process using the method that you are working with. Log in and then you will be at your dashboard. If you have not tried the software before you will see a first project and you can use this for your work. I have tried it so I have the small building data already processed, so I will add a new project for the Sample Asphalt. 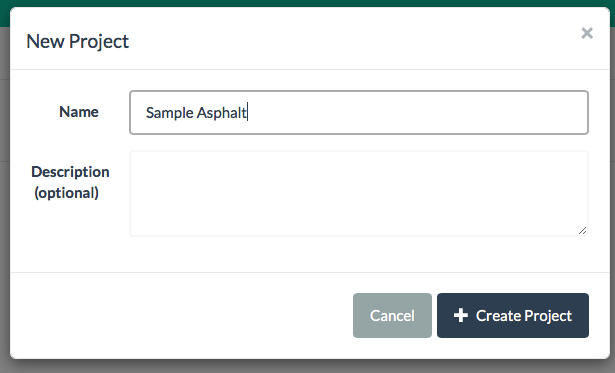
Once you have your project container then you can add your images and ground control points. I have not worked out the ground control point files structure yet so I will just add the images. 
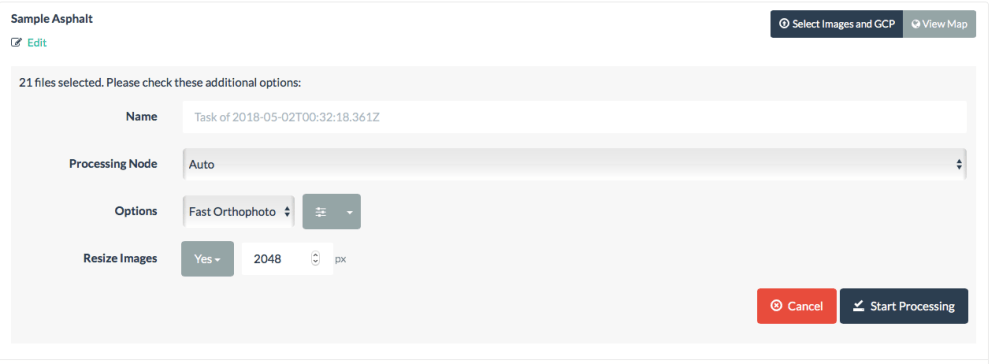
When you add the images you are ready to selecting your parameters to process. For this I am doing the Fast Orthophoto option. Other options are Default, High Quality, and DSM + DTM. You also have the options to create your own custom process. Another option is to resize the images. If you have a lot or high-resolution, but only want a quick ortho to see what you have you can resize them to make the process quicker. I will use that option in this example. When you are set click Start Processing and let it go.

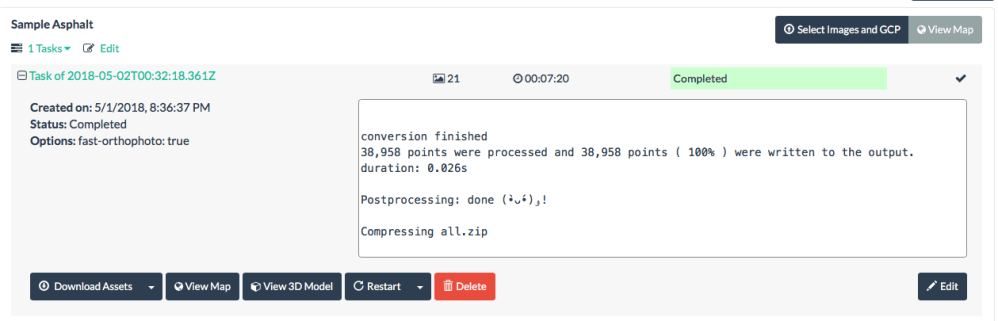
One of the interesting aspects of the software is that you can watch the process go. You can see how the different images relate and how long it is taking for each image. When the task is done this window will still be accessible. 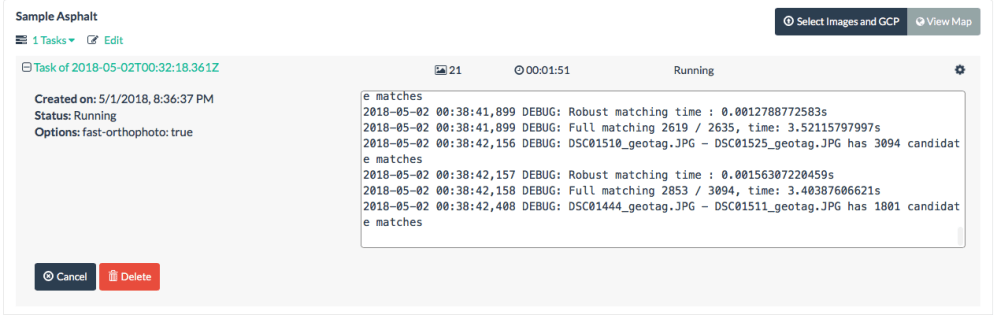
When the Task is done you can download the data or view the data within the WebODM interface. You can download the processed orthophoto as a Tiff or PNG file. It also created a point cloud from the images as part of the referencing process.
The viewer is pretty cool and you can preview the data. 
Even though we did not create the elevation surfaces, we still have some 3D data with the point cloud and that is viewable in the interface as well. The 3D interface is a smooth viewer where you have control over the point size and appearance. You can also do some basic measurements and download the data as well. 
If we had processed the images for the elevation data we now have more options in the viewer. These screenshots use the Small Building (3D) example from the Drone2Map sample data. The point cloud looks similar to the Simple Asphult example, but there are more options. One is the texture model. This uses the photos to fill in the gaps and create a closer realistic model. It is not perfect but it works fairly well. 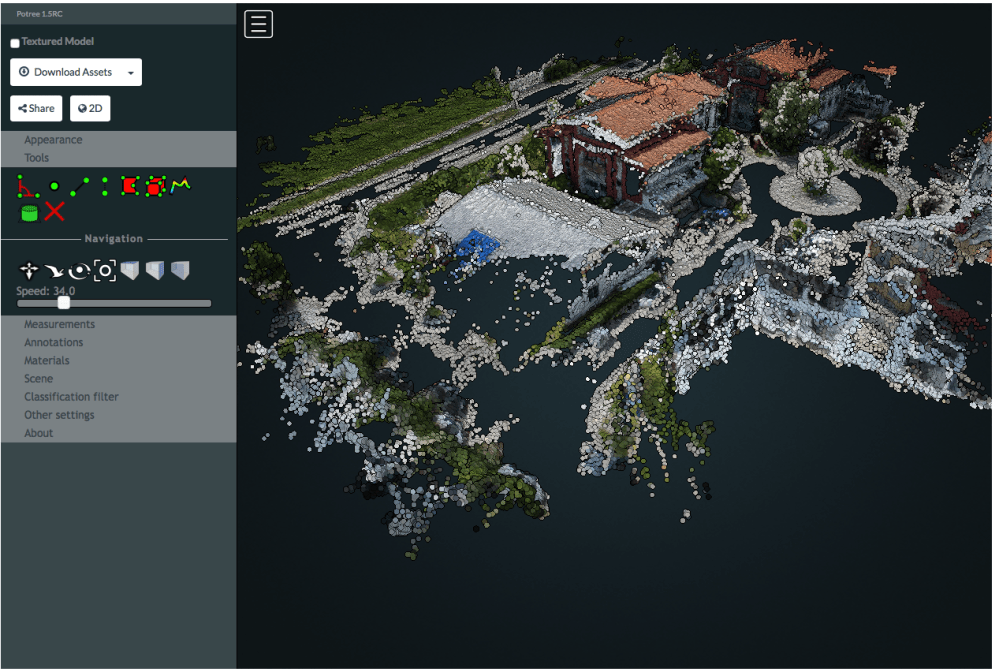

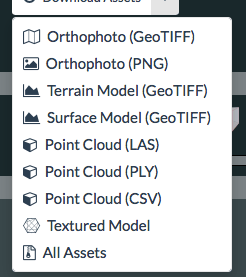
Download options for the DSM + DTM Task Settings
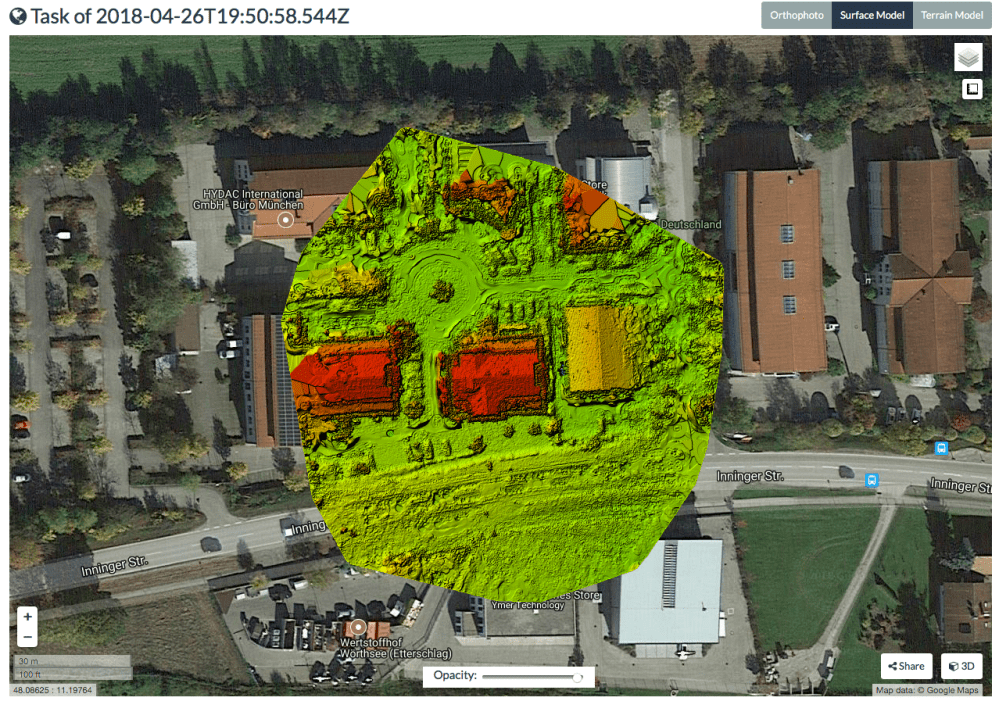
Also the 2D viewer now has other options. The small buildings does have new options. You can now view the Surface and Terrain Models within the viewer. The viewer classifies the images using a basic pallet, which you do not have control over, and a hillshade to show the data. 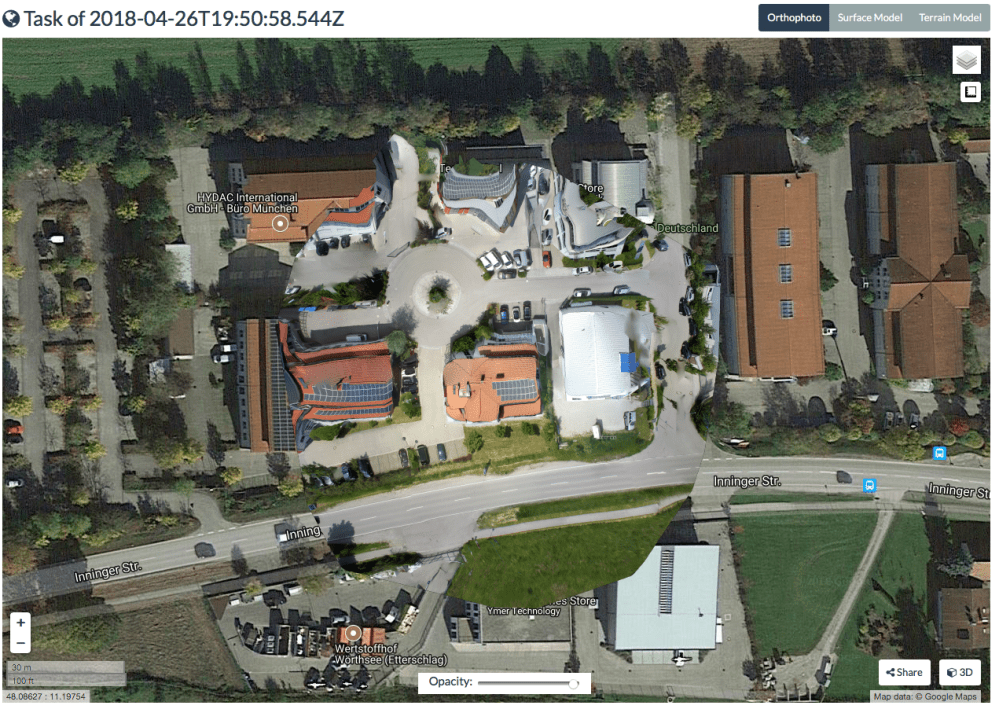
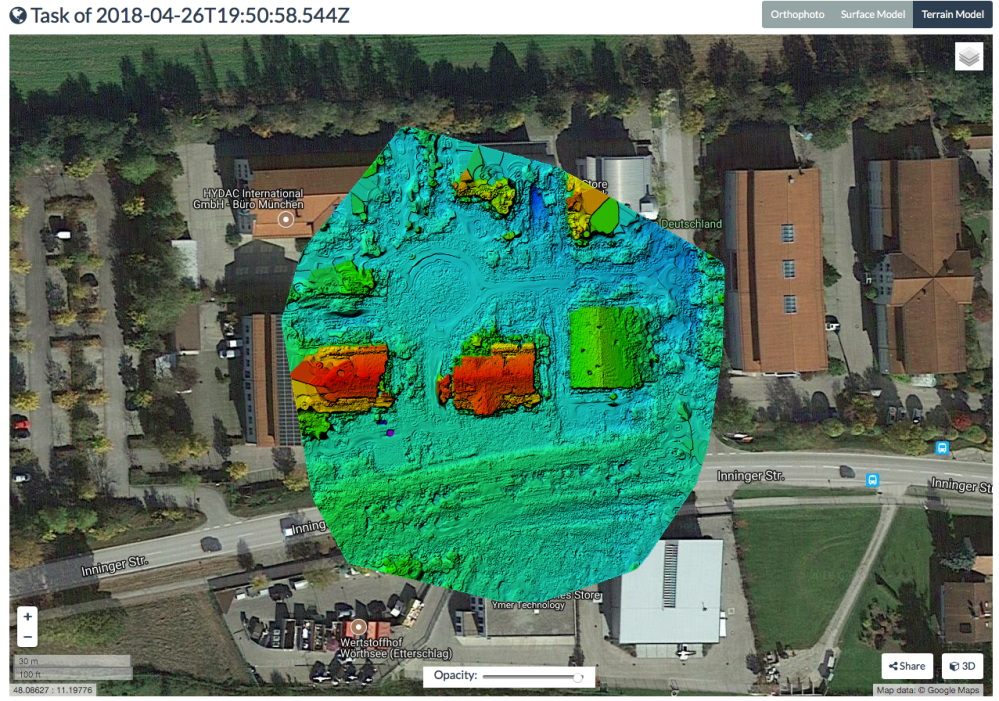
In this example all of the different models are downloadable and can be used in a variety of different software.
When you are done make sure to stop your WebODM service to save on system resources.
